Configuring Wifi in ESP32 WORM using code
Published:
Recently, I have been delving into a specific use case that involves consuming a voice REST endpoint using the ESP32 microcontroller. This task requires not only utilizing the capabilities of the ESP32 but also ensuring that the device is connected to a Wi-Fi network for seamless communication with the endpoint.
To facilitate this, I explored the various examples and resources available online. After reviewing multiple methods, I found a particularly straightforward approach to enable Wi-Fi on the ESP32. This involves using the ESP32’s built-in Wi-Fi library, allowing me to connect to a specified network by entering the appropriate SSID and password. Implementing this solution has significantly streamlined my process of integrating voice functionality into my project. In the following sections, I will provide a detailed explanation of the code and steps involved in setting up the Wi-Fi connection on the ESP32.
Below are the steps to follow
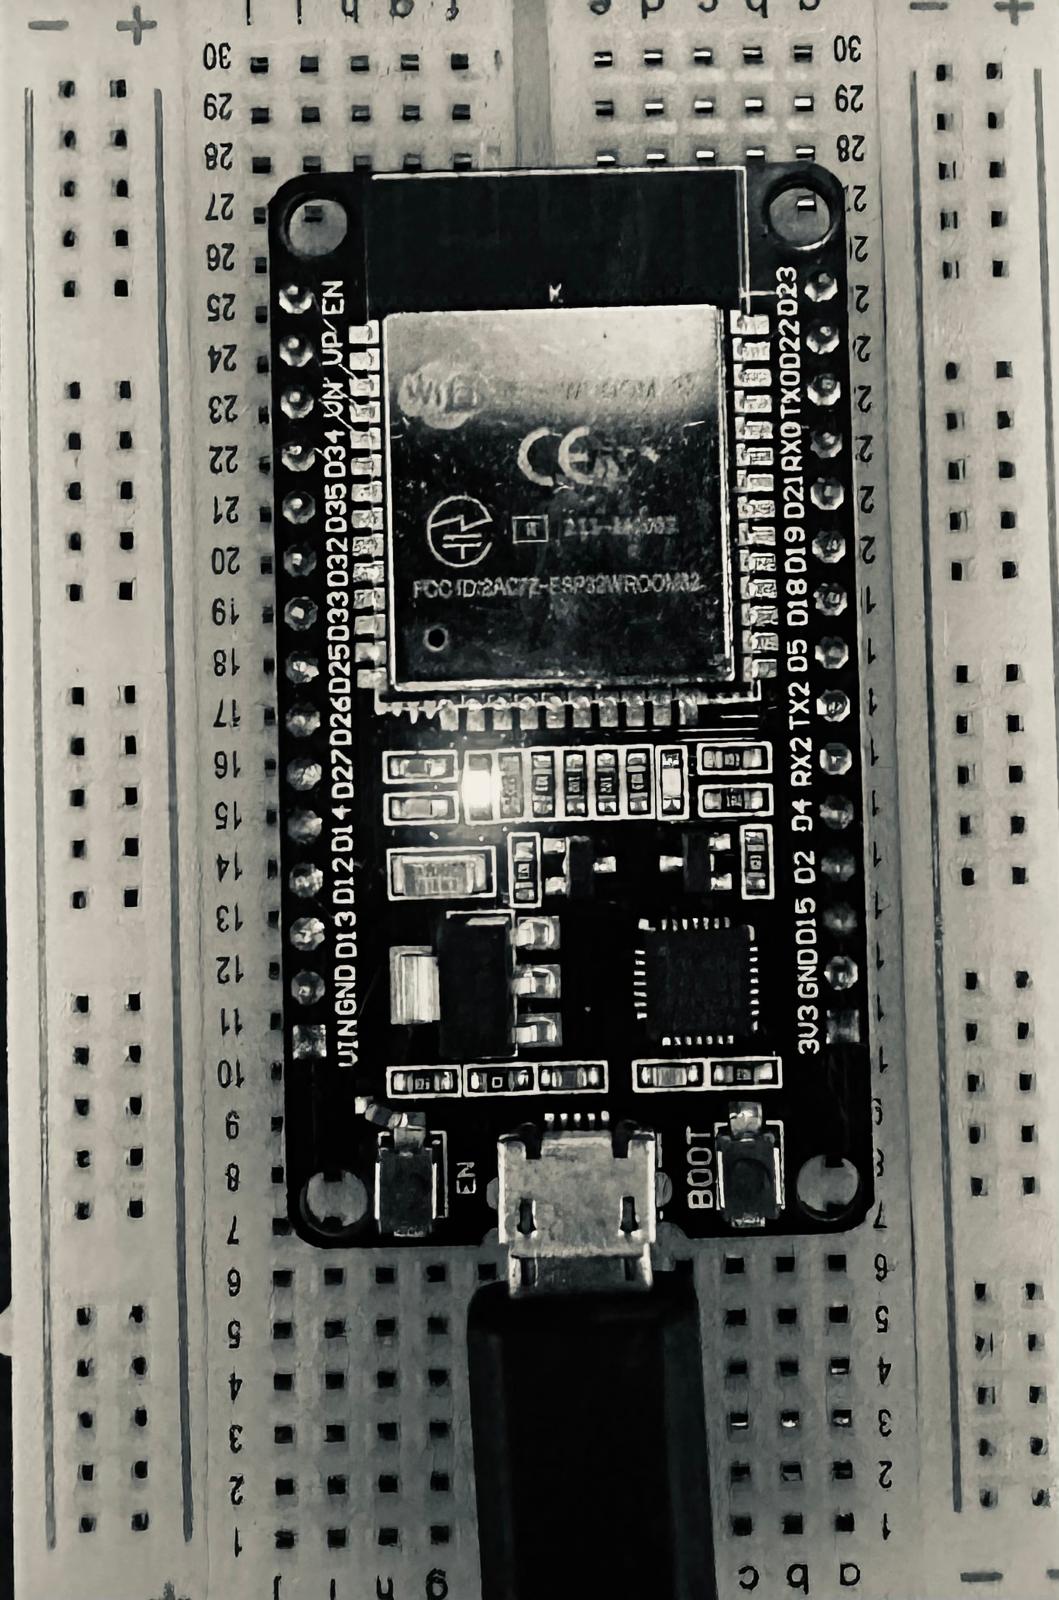
Step #1:
Connect esp32_worm to laptop using usb C/a
Step #2:
Install Arduino IDE
Step #3:
Select Tools->port and select related port (/usb for example)
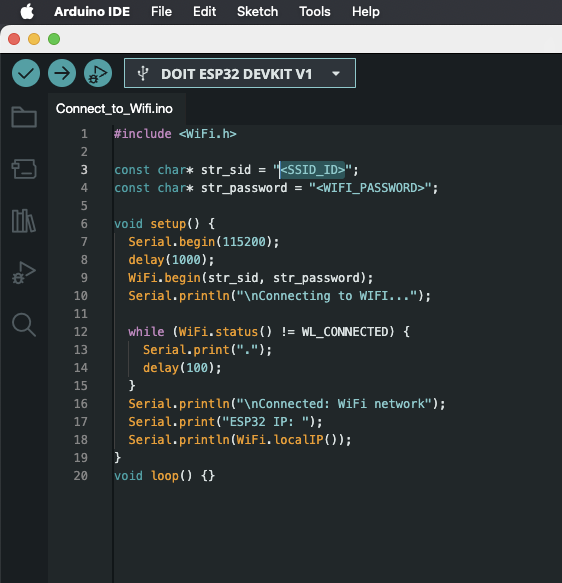
Step #4:
Enter the below code in the IDE
      #include <WiFi.h>

      const char* str_sid = "<SSID_ID>";
      const char* str_password = "<WIFI_PASSWORD>";

      void setup(){
          Serial.begin(115200);
          delay(1000);
          WiFi.begin(str_sid, str_password);
          Serial.println("\nConnecting to WIFI...");

          while(WiFi.status() != WL_CONNECTED){
              Serial.print(".");
              delay(100);
          }
          Serial.println("\nConnected: WiFi network");
          Serial.print("ESP32 IP: ");
          Serial.println(WiFi.localIP());
      }
      void loop(){}
Step #5:
Select Upload and Compile
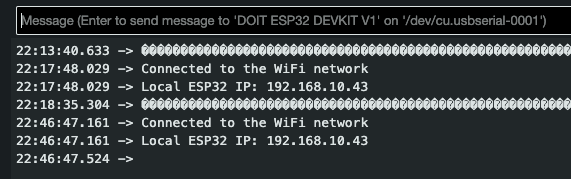
Step #6:
Finally, once Wifi is connect local ip and connection status will be displayed in logs.